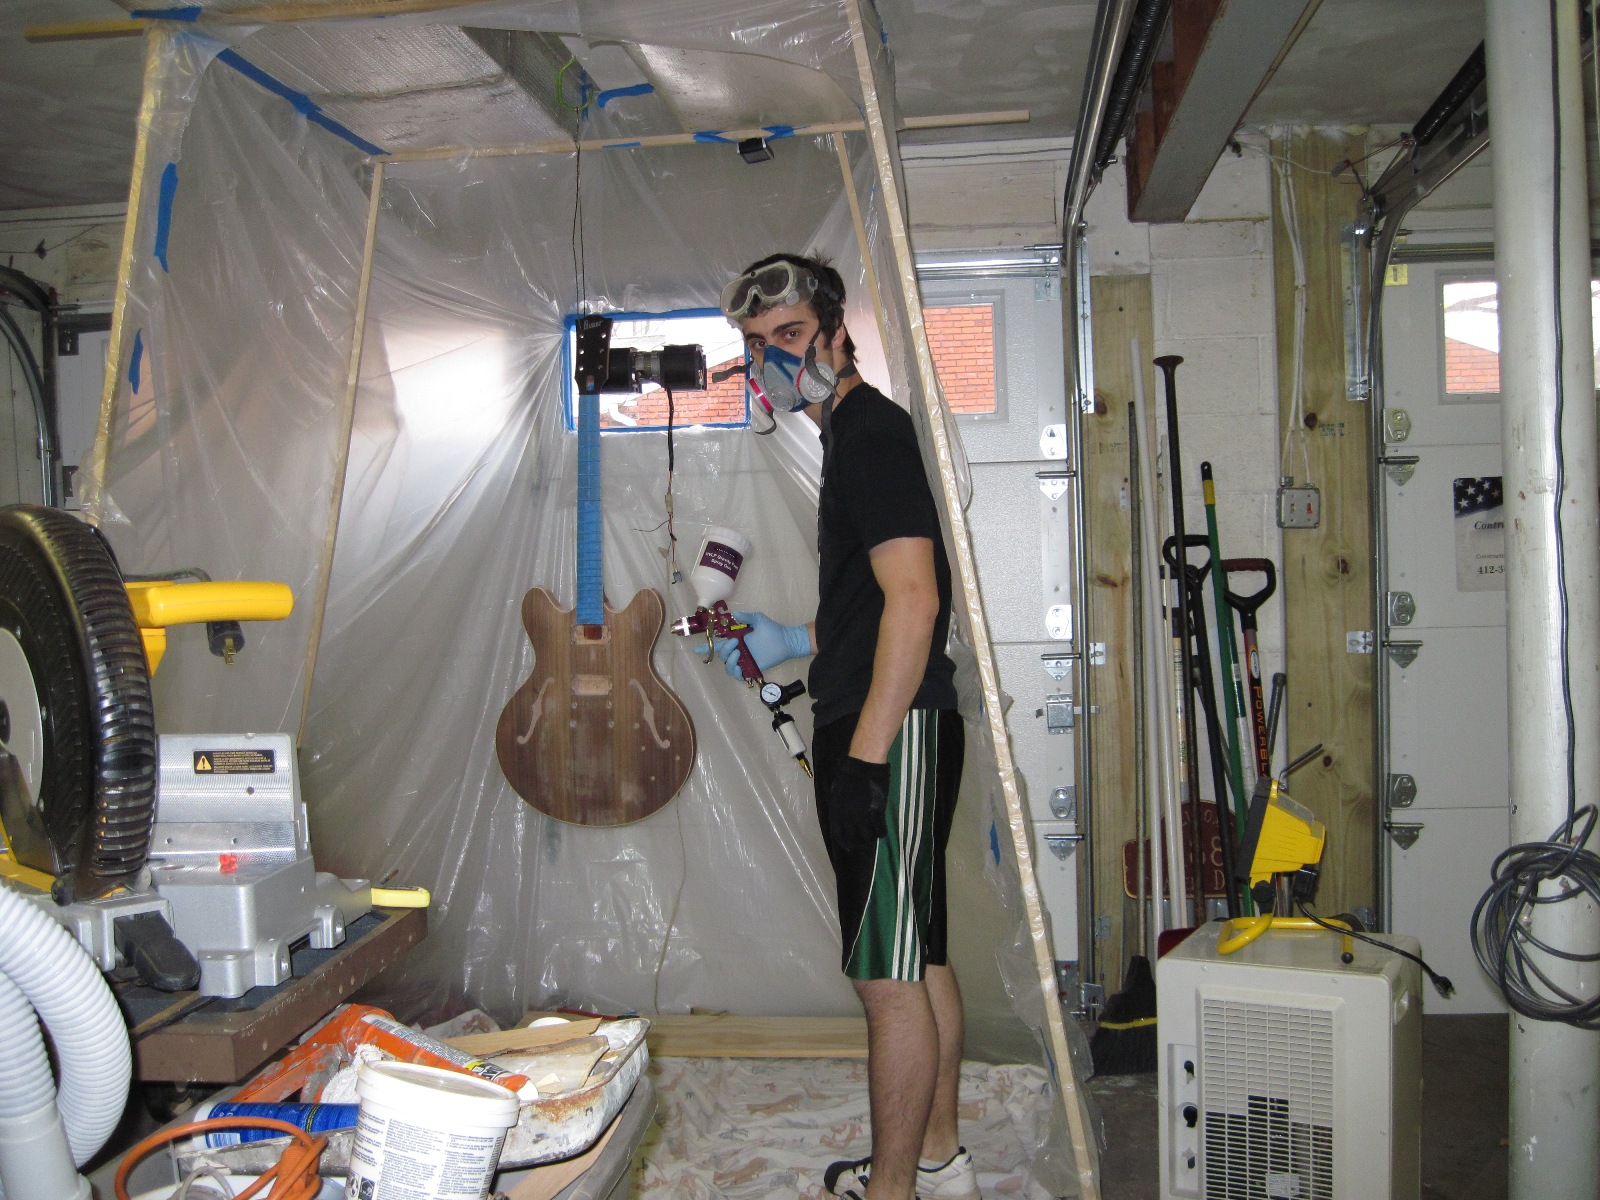
I set up the the booth the same as i did before. This time I used a microwave oven exhaust fan to vent any fumes. While it moves a good deal of air, i found the height location to be of poor choice as much of the fumes gather near the floor. Bending down and inspecting the body proved somewhat overwhelming as the respirator struggled to filter the fumes. I had two 2kW heaters cranked to bring the 45 degree garage up to 66 degrees. A dehumidifier was ready to help with the humidity, but it was unneeded as it's winter and the air was already dry (25-35%).
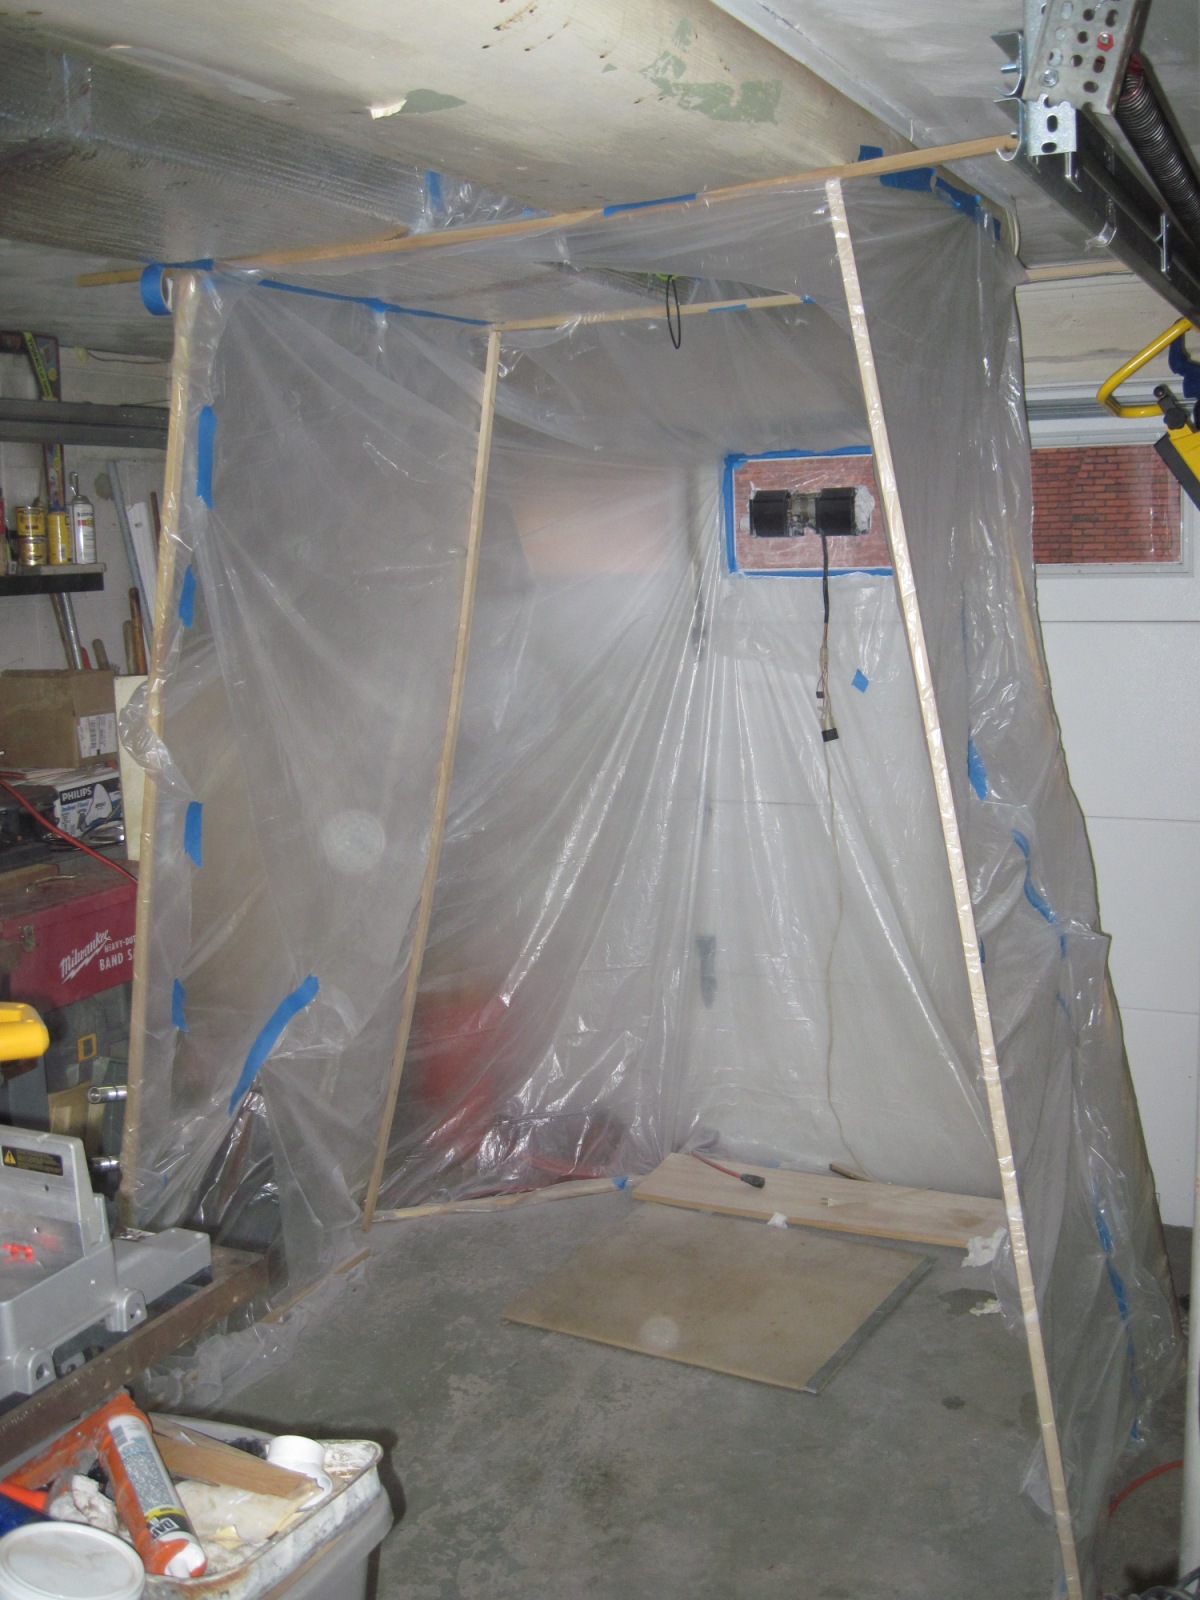
Another look. The exhaust fan fit into a custom lexan windowpane, leaving the garage door shut to keep the heat in the garage. Return air is pulled from the preheated house. A carpet foam was placed on the floor just in case, for some insane reason, the guitar were to fall. Just covering my bases.

The headstock was given its new black dye and the body was given a full sanding with 400 grit. You can see in this picture the areas where i sanded back to the wood (appear whiter than the body). I needed to do this because as some spots received damage underneath the existing lacquer, so it had to be removed.

After spraying a few coats, the areas that i sanded back showed up darker as seen above. However, this is only but an illusion, as it is actually glossier rather than darker. I assumed it was due to the bare wood not being sealed, so these first coats were thinned to about 60% lacquer/40% thinner. Unfortunately, after applying all 10 coats to the body, these spots still remained glossier than the rest, even after sanding between coats.

I tested this exact scenario on a scrap piece of walnut laminate with the same results occurring. Fortunately, on the tested piece, the shiny 'darker' spots disappeared completely through wet-sanding, leaving a spot free, glass smooth finish.

Noticeable blemishes seen on the walnut visible here on the mahogany neck. It surprises me still that, after many layers of lacquer and level sanding, the blemishes still exist. As long as it'll disappear in the final sanding, i'm not worried.

I rounded the edges of the f-holes. This quick modification made the guitar look so much better than before.

Looking good. After tweeking all the settings on the HVLP gun and getting a good hand in spraying, I was able to apply even, thick coats, preventing major orange peal. Upon inspection, there appears to be some grain still poking through in some spots, but it is not as major as before and will sand out (mostly) in the end.
I'm glad i ran into these problems now. I've learned so much doing lacquer touchups and level sanding that i feel i'm ready for any repairs I may encounter in the future. I would love to start from scratch and avoid all these problems, but that would have to wait for guitar #2. Perhaps next summer.

