Showing posts with label Bandsaw Build. Show all posts

Friday, July 5, 2013

Bandsaw: Update 15

Here's a pretty big update. The bandsaw is essentially done. The electronics system isn't complete, so can only I turn the saw on by plugging it in. I plan to wire up a relay controller box with a STOP/GO switch on the frame. The relay will run 12V so the STOP/GO switch doesn't need to be enclosed like it would for 120V. I also plan to eventually incorporate an LCD screen powered by a PIC to display some data such as motor current, blade speed, and possibly blade tension. That will be later. Here are some pictures.

The last little piece to build was this extra cover for the front of the motor. It's just the usual plywood laminated with veneer. A maple wedge holds it to the frame.

My shipment of knobs and draw latches arrived from McMaster Carr faster than I received the invoice. I've bought the shafts, shaft collars, and bearings from them.

 The draw latches are spring tensioned latches. I chose these over others because they were the only few that would lie roughly center over the enclosure 'seam'. The knobs were used for the under-table cover, table trunions, blade tracking, blade guide column, and blade guide depth (not shown).

Another angle. Now I need to dismantle it all. Hooray.

I haven't gotten a shot of inside the lower wheel enclosure, so here it is. I had removed the table and trunion mounts at this point.

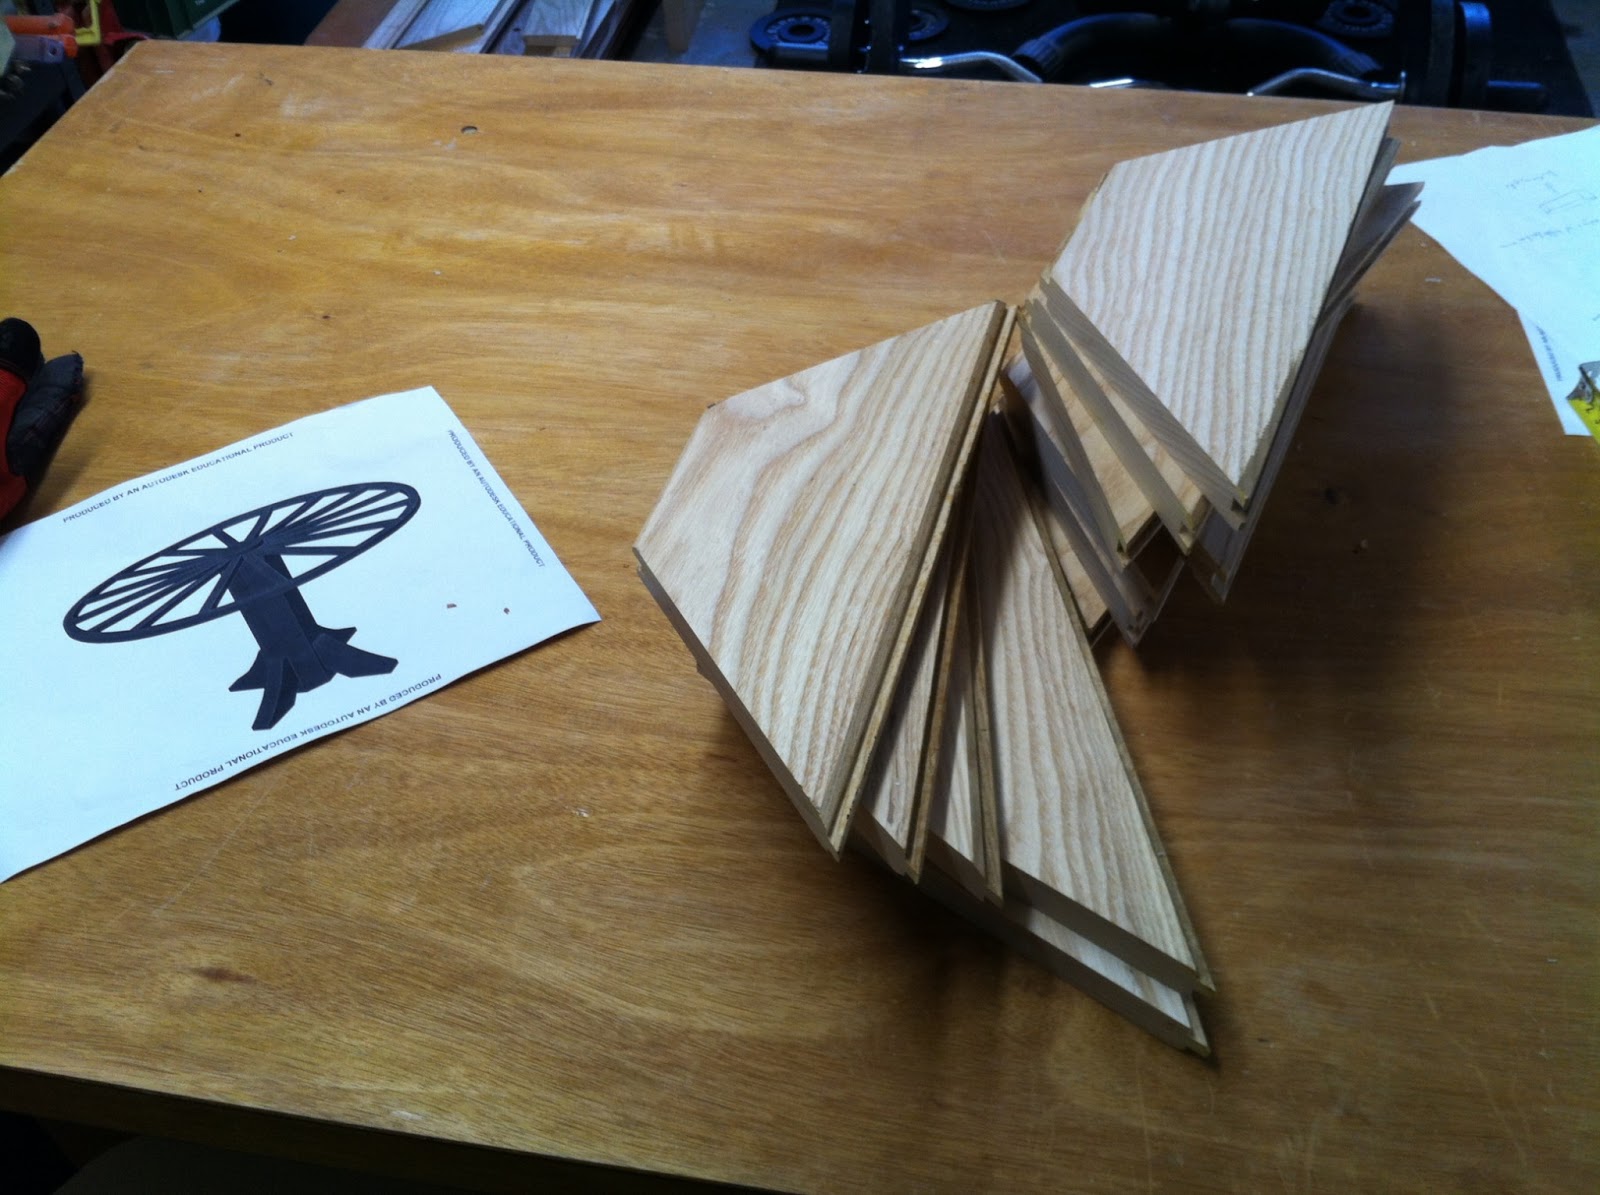
NUDE. I used a small block plane to bevel and round the edges. 

Brought it outside for an all day sanding marathon. I used a random orbital sander, 100 grit at first.

yep.

I then hand sanded everything to 180 grit, paying close attention to the areas that will be visible.

 Then stained it. It took a long time to pick a good stain. I didn't know what color to choose that would compliment the red-ish tigerwood and light maple. I could have left it naked and just clearcoated it, but I don't think I would have liked that. I went with "Early American" Minwax stain. I had some darker ones, but they would have been too dark.

Here's all the parts minus the frame, stand, blade, and belt. I need to sand everything for finishing with Minwax Polycrylic semi-gloss.

I made sure to remove any glue spots from the major pieces.

I believe this was coat 3 from the enclosure parts. The frame had to wait a day before applying a finish.

 The frame clearcoated. It's hard to tell the difference with this picture.

Once all the pieces got 3 coats and 48 hours cure, I began to reassemble. I needed to improve the motor mount, so I drilled some counterbores for the mounting bolts' nuts to fit. I won't have access to the underside of the hex bolt to tighten these once the frame is attached to the stand, so with this I can secure the bolts to the frame once and not have to adjust them. The scrap piece shown above helped center my forstner bit.

The first few pieces are installed.

The motor installed, initial spin-up. Splendid. 

 Bottom enclosure done. The upper wheel mount assembly was installed and lubricated with some bar soap. The applied finish against itself has a high coefficient of friction and tends to lock any moving parts in place. The soap helped well, and made the saw smell nice.

Boom. Done. I still need to trim that drawer to fit.

The color scheme turned out quite well. The tigerwood is a little too close to the frame color, but overall it's better than I expected.

NICE

WOW ANDREW, NICE JOB.

YOU DID IT.


I will call this project complete. The electronics will need to be done, but as far woodworking is concerned, I am done. I hope that was fun to follow for those who did. I had an incredibly wonderful time building this. This took me roughly 4 months to build. I spent about 4 hours a day, about 3-4 days a week working on it, with a few 8 hour days on the weekend. I'd say I spent roughly 300-350 hours building this. That may be a ridiculous amount of time. A lot of it was experimentation and planning for the enclosure design and construction.

The table has its finish applied and is curing.

I'll perhaps have a small update later.

Thanks.

Saturday, June 22, 2013

Bandsaw: Update 14

The bandsaw is nearing completion. The little things about the build are slowing things down a bit, such as finding hardware and cosmetic details.


This is a pretty good angle of the nearly complete bandsaw. The motor pulley cover has had its binding installed and was attached to the lower enclosure. You'll notice in most recent shots of the saw that the top drawer is never closed completely. That's because I made it with too little clearance and the drawer won't close at all since the stand frame has shifted over the past few months. It's an easy fix.

The under-table cover is finished. I have some screw inserts that will allow this piece to be tightened to the frame. I will install these soon.

I still need to find suitable draw latches for the enclosure, which is turning out to be quite difficult. Most latches are either too big, or too off center. I'll figure something out eventually. I'll need to get a few knobs for the various 'tightenable' pieces such as the table trunions, blade guide column, blade guide, and blade tracking. I'll have to order something from the interwebs soon. Other than that, I'm able now to dismantle everything, sand, route (round-over the frame), and finish. Afterwards I'll button everything up and tune a few things such as table leveling and upper wheel shaft wobble that I've noticed. More later.
 

My mother asked if I could make a table from a wooden wagon wheel she had. I designed something quickly in AutoCAD and started cutting some wood.

I got a good deal of 'smoke damaged' ash boards a few weeks ago. The boards are 3/4" thick and don't have any 'flutes' underneath. There are only the tongue and groove to deal with. I cut some to length here for the main support.

I cut them to width by mitering the edges to 22.5 degrees.

The pieces laid out, with a dado for the top support. In hindsight, I should have added another center octagon to improve the structure. No problems now, but I imagine the miters won't hold perfectly on their own over the years.

I then formed an octagonal pillar. This was quite interesting to glue together. I'm using Titebond III leftover from the ES335 build. Since this table will be outdoors, waterproof glue would be preferred.

Here's a view of the printout CAD model, and the 45 degree table legs. They will be 3 layers of 3/4" thick (1-1/4"), so I have 12 pieces cut out here.

I trimmed the tongue and groove, and planed the surfaces to promote proper adhesion. They are then glued together.

I used my bandsaw to cut a pleasant little curve into the supports. I then cleaned it up with the spindle sander. 

A quick mock up. Looks alright.

I routed the edges with a round over bit to give it some looks. I then used the drill press, with the table at 45 degrees, to drill holes for the 3/8" hanger bolts. I filled the holes with wood glue and threaded the bolts into the wood. Two nuts were threaded onto the machine end so it can be torqued using a wrench.

I assured the pillar support thing was square to the table, and transferred the bolt locations to it.

I drilled the holes, added a washer and nut, and tightened the legs. Violin. 

Very little wobble. I will sand and finish soon. 

Check out the 'Browse' menu at the top right of the page to navigate my blog a little easier. I hesitated to spend time organizing this blog, since I'd rather spend time building an actual website, but this will do.

More later,
Andrew


Tuesday, June 11, 2013

Bandsaw: Update 13

 EHH...
Here I've prepped some scrap 1/4" plywood for the motor pulley cover.

I cut out part of a piece of 2x6 (?) with the proper curvature for the pulley clearance.

I then cut the piece from the 2x6 and place it on the plywood.

Along with a straight piece, I glued it to the plywood.

A quick pass on the table saw brought the curved piece to its proper thickness. I cut out clearance for the motor

I glued the other side onto the curved piece.

A cutout for the motor shaft was done later. I used the bandsaw and oscillating spindle sander to remove the excess. 

I glued some maple veneer to the cover using all of my bar clamps.

 I glued some bits of poplar around the blade to cover it.

 Here's a good shot of the channel that the blade travels up through. I afterwards trimmed any excess wood away and veneered the channel. No binding for this section.

I added some extra binding to the upper enclosure door. The pulley cover is just resting on the pulley. I have yet to figure out a way to mount it. This cover will eventually get binding.

Another shot. 

The bottom underneath the table has the lower blade guide and blade exposed. Covering it will help control dust. It will only be installed when the table is set to 0 degrees. Here, 1/4" plywood is being veneered on both sides with maple. I chose to laminated both sides to keep things symmetrical which will prevent warping.

 Some extra 3/4" plywood and smaller bits form a box that is contoured to cover all exposed areas.

Here it is held in place. It will get binding. I imagine a bolt into the frame will suffice to hold it in place.

More later.