
Gluing the side veneers became quite a problem and I spent a few days just trying to figure out how I'd do it. After a few dry-runs, I managed to find success. I first cut and pre-bent lengths of veneer. I split the side up into 2 parts.

Glue was applied and the piece was clamped to the enclosure. I used bits of wood and an extra thinner piece of veneer to spread the clamping pressure. This first part I used twine to help pull the edges down. It didn't work very well.

Finding a way to clamp it was difficult enough. I cut a round piece of scrap lumber with a round inside to act as a caul against the inside of the frame.

The edges done, I planed them down flush. There are some gaps between the outer edge and the front veneers, so...

...some tigerwood binding should cover that up. This is the same stuff from the other parts of the build (leftover hardwood flooring). I figure I'd keep the maple/tigerwood theme going.

I didn't have the proper router bearings to cut the deeper-than-1/16" binding channel, so I set up a router fence with a straight cut bit to cut the channel. The piece is entirely flat/square, so the cuts were easy. I did have a problem with the veneer chipping out.

Before gluing the binding, I chose to cover up the veneer joint on the side. More tigerwood.

The slot for this piece was cut with the bandsaw and a chisel.

I bent these binding pieces and the maple veneer sides from earlier with a heatgun. This helped out quite a bit. This is just standard masking tape.

I could use clamps around the back edges, so this was a little easier.

It's the same process for guitar building. I scraped the binding down with a burnished utility blade.

With it looking nice and pretty, I am now ready to saw the damn thing in half. This had to be perfect. I really didn't want to ruin all that hard work by butchering an otherwise decent piece of woodworking. I clamped a piece of 3/4" pine to the table saw and raised the blade to produce a zero clearance surface. Another piece was screwed to the fence. I set it to the appropriate distance...

...and fed it through. I kept even pressure against the fence and essentially 'rolled' the curve along the blade. It went perfectly. I couldn't have done it better.

A close up of the top tigerwood piece and the veneer against the poplar. Smashing.

I screwed the back piece to the frame to see how it would look. It looks like wood.
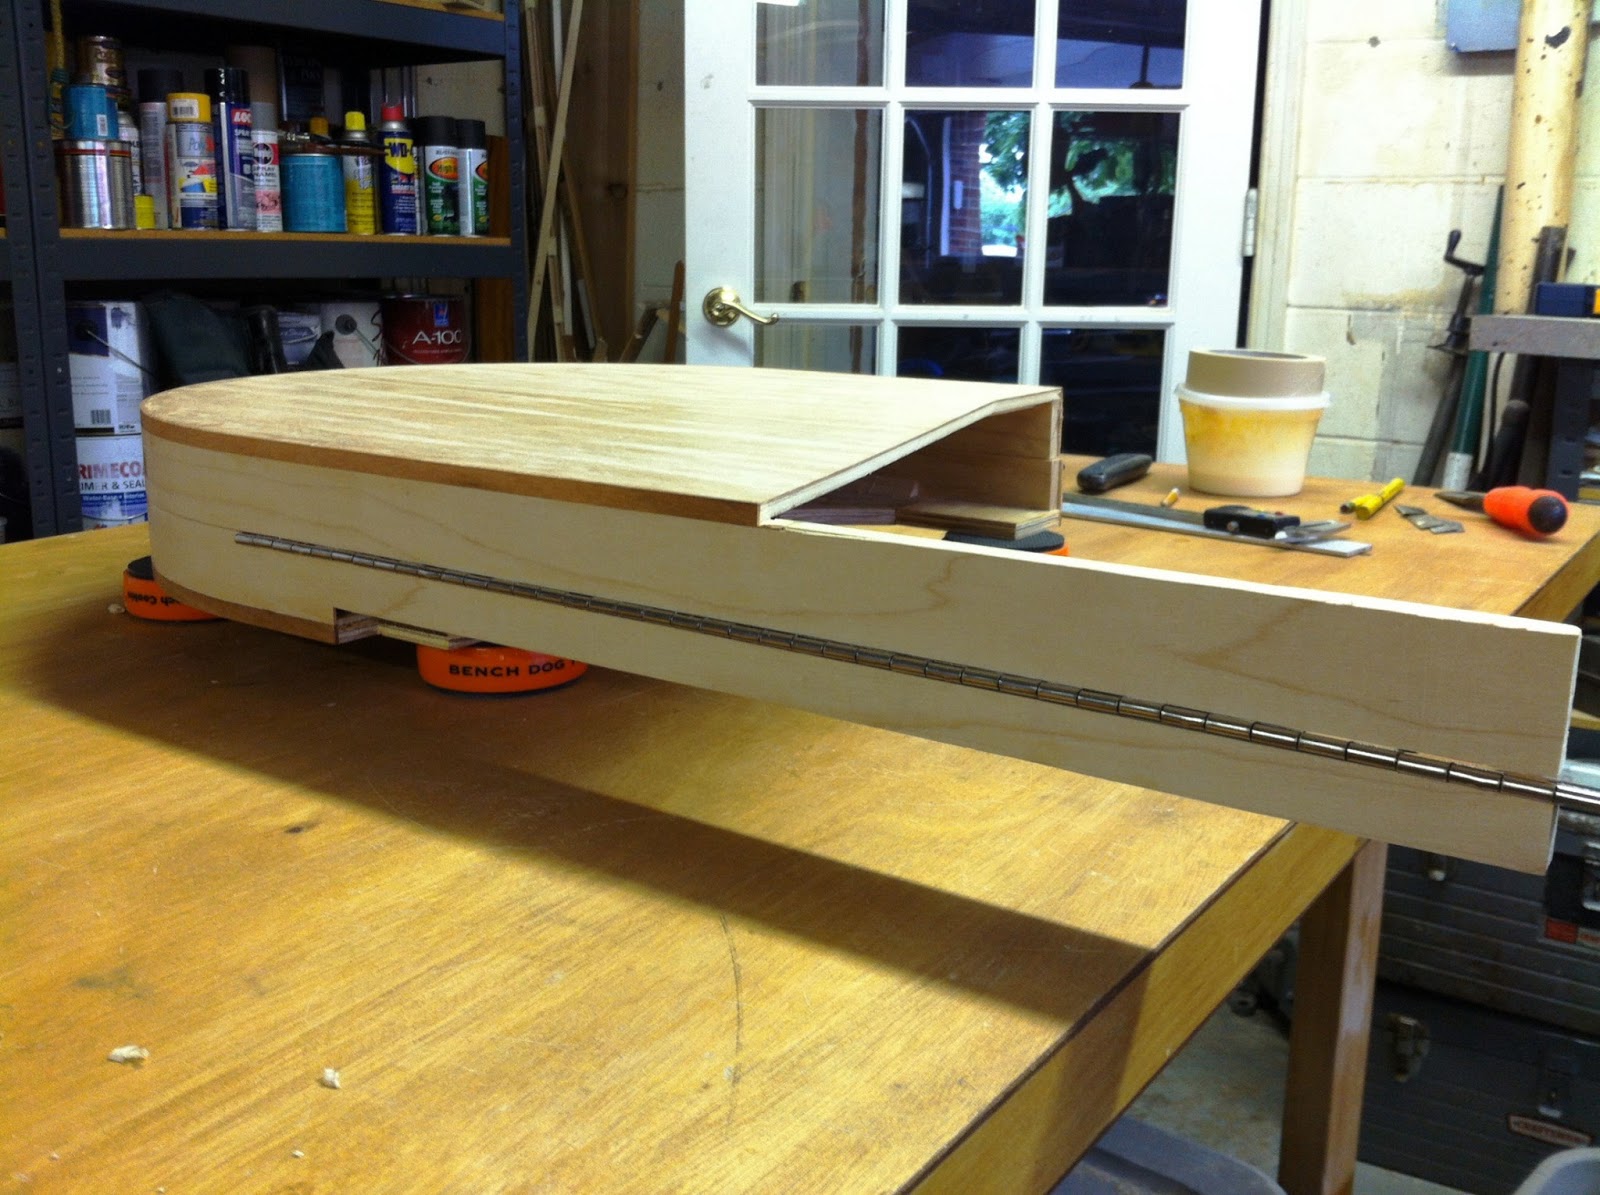
I cut 5mm off from the back piece along this edge to fit the piano hinge. I used a table saw for this.

The hinge was screwed in place, and I now have a fancy door. Those cuts in the outside door braces were to alleviate springback from the plywood.

The slight springback does bring the two pieces slightly out of align, but I do plan to add little 'shims' on where the door closes to align everything. I will eventually put draw latches (3) on the top to clamp everything closed.

This will look great.
I figured I'd make this bandsaw look nice in the end. I imagine it will last me for quite a long time, so I may as well give it my all.
The bottom enclosure will start soon.
-APB

No comments:
Post a Comment