
The dovetail joints were to be done in the 2x4s. They're pretty big joints. I did a test joint shown here on the bandsaw. I planed the final lengths of 2x4 to a consistent thickness and made all my cuts.

The angle of the dovetail depends on the type of wood used. A 1:6 angle (9.46 degrees) will work for softwoods like this pine. 1:8 for hardwoods. I made an angle jig with a fence to clamp to the bandsaw table, as written in the scriptures. I set it up so I only needed to clamp it in two positions - tilting left and tilting right. Two long horizontal stops are shown clamped equidistant from the blade. A depth stop is clamped behind the blade. The system works by placing a spacer against the angle jig fence, making a cut, remove the spacers, and make a second cut...

...to get this. I then flip the jig to angle to the left...

...to get this.

To help with hogging out the material, I made vertical cuts.

Hogged out. These are the 'pins' of the dovetail joints. The 'tails' were made by tracing the pin edges onto another 2x4 end, then cutting out. These are much easier to cut, and only requires a steady hand.

They fit quite well. I've glued them up here. The extra wood on the tails and pins were shaved off with a block plane and sander.

The two dovetail-joined frames were connected to each other via these 'L' pieces. Two pieces were just glued together to form the shape.

To make this.

The 'L's were connected to the frame via 1/2" dowels. You can see a 1/4" straight route along the inside edge of two sides. This will hold a 1/4" panel.

This is right before the gluing marathon. Some long clamps held forced everything together.

BAM.

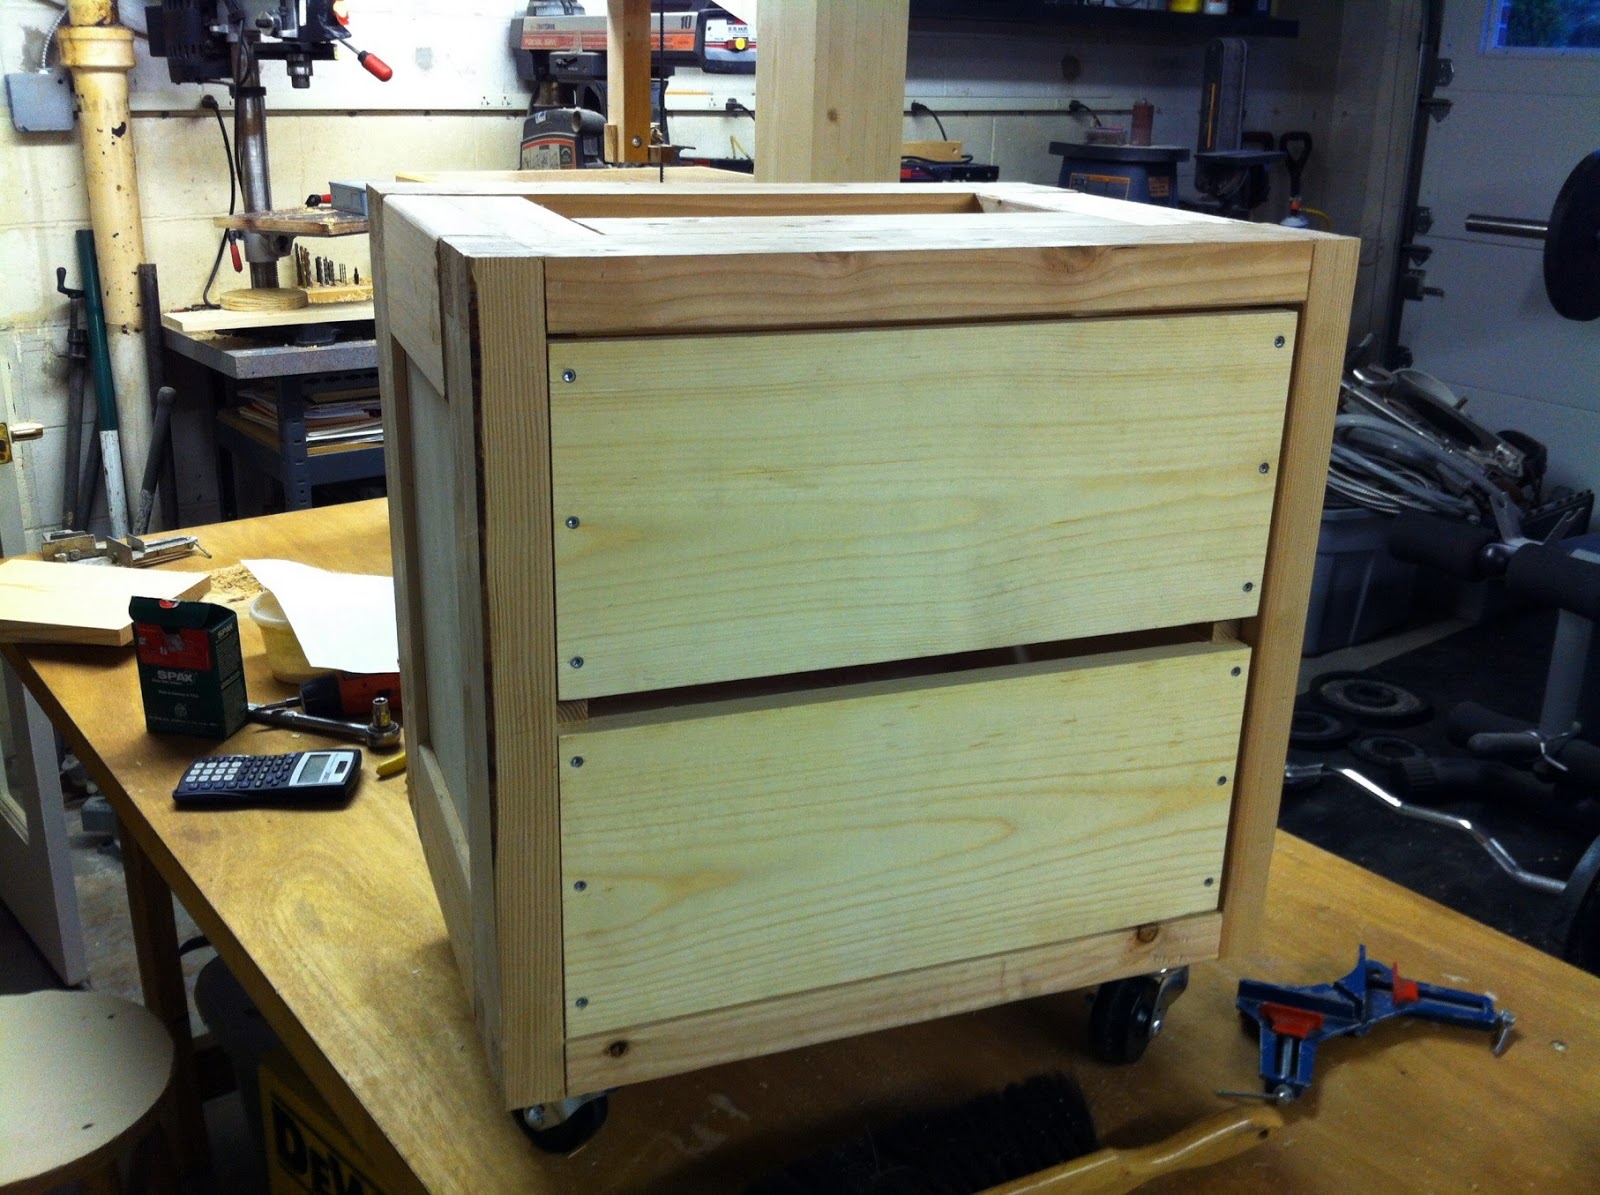
and...uh....BAM. WHAMMO. w/ castors.

The drawers were fashioned from 3/4" (19mm) 1x8 boards. They were a cm or so shorter than the plans, so I made the whole stand that much shorter and increased the castor wheel diameter to compensate. Here I cut the boards to length, routed a 1/4" channel, and cut the rabbets for the joints.

Bottom panel fits nicely. some miter clamps helped to hold everything for gluing.

Kaboom. You can see I reenforced the rabbet joint with screws. Stew Mac catalog included.
Drawer 2, with drawer slides installed. The slides were made with some scrap ash, and screwed to the inside of the stand.

Back panel screwed in place. 1/4" plywood.

A better view of the slides.

Even more gooder.

I started applying a finish today, and it looks quite nice. The dovetails look quite professional. The box is incredibly sturdy and functions well.
I finally bought a motor (1-1/2 HP, 1725 RPM, 115V [a bit overkill]) so now I can install that and start on the saw enclosure, which I will redesign to something different than the plans. I plan to use some leftover 1/16" maple veneer for the final finish and shape. I also plan to use a piano hinge setup for the enclosure instead of dowels described on the woodgears website.
All for now. Buy.

No comments:
Post a Comment